(CN) Deploy Hexo to my Alicloud Server

将博客部署到云服务器
选择
hexo的原因就是它快速且简洁,配合Fluid主题,简单修改一些配置文件后,真正做到了开箱即用并且UI也很美观,深得我心
本地环境安装(Win 10)
-
下载
node环境,官网地址 -
验证下载是否成功
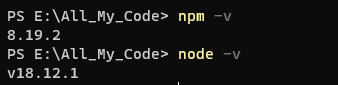
- 安装
hexo-cli
npm install hexo-cli -g
- 验证
hexo是否安装成功
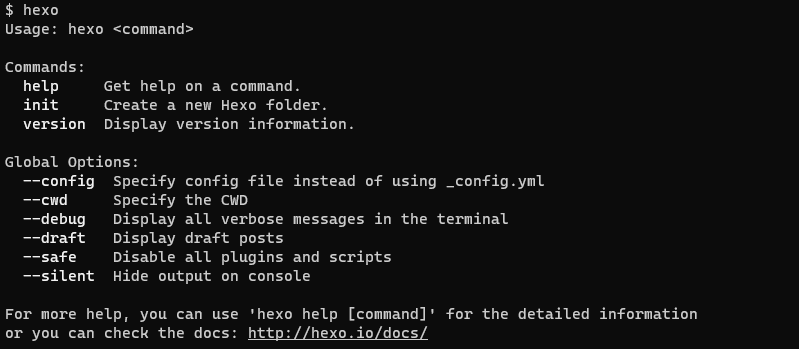
- 初始化
hexo项目
hexo init Blog && cd Blog
- 安装自己喜欢的主题并进行一些个性化的配置
服务器环境安装(CentOS 7.6)
- 安装
git和nginx
sudo yum install git nginx -y
配置git环境
- 在服务器上创建一个git用户专门运行git服务
adduser git
passwd git
su git
- 创建git仓库目录
mkdir /var/repo
cd /var/repo
git init --bare blog.git
- 配置git hooks
vim /var/repo/blog.git/hooks/post-receive

# 添加以下内容

#!/bin/bash
git --work-tree=/var/www/hexo --git-dir=/var/repo/blog.git checkout -f

# 保存退出后修改文件权限
chmod +x /var/repo/blog.git/hooks/post-receive
- 改变
blog.git目录的所有权
chown -R git:git /var/repo/blog.git
- 创建静态文件存放目录,并修改相应权限
mkdir /var/www/hexo
chown -R git:git /var/www/hexo
chmod -R 755 /var/www/hexo
# git仓库更新会自动同步到hexo目录下
- 禁用git用户的shell登录权限
cat /etc/shells
# 得到/usr/bin/git-shell路径

sudo chsh git
# 输入/usr/bin/git-shell
- 测试是否配置完成
git clone git@ip_addr:/var/repo/blog.git
如果clone成功,则表示git服务器搭建成功
nginx配置
- 修改
nginx的默认设置
vim /etc/nginx/conf.d/blog.conf
- 修改根目录指向
server {
    listen 80;
    listen [::]:80;
    root /var/www/hexo;
    location / {
            # First attempt to serve request as file, then
            # as directory, then fall back to displaying a 404.
            try_files $uri $uri/ =404;
    }
}
- 启动
nginx服务并设置开机自启动
systemctl restart nginx
systemctl enable nginx
Hexo配置
打开hexo目录下_config.yml修改如下:
deploy:
  type: git
  repository: git@ip_addr:/var/repo/blog.git
  branch: master
随后在本地执行hexo g -d即可将文件上传到云服务器
Outis Yang
2024 Undergraduate in Cyberspace Security
My research interests include Internet of Vehicles(IoV), Penetration Testing and Security research.